.
Brushed Shading for Blender
Brushed Normals
Transforms regular smooth shading into brushed shading by rotating the object normals through the brush stroke map, mimicking how an artist paints strokes on a canvas to shade an object.
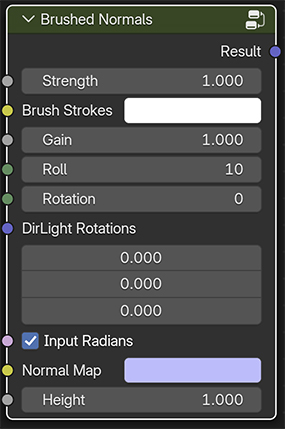
Inputs / Parameters
Strength
A normalized slider to control the overall effect, from zero (no effect) to 1 (100%).
Brush Strokes
This is where you input the brush strokes map, used to smear an object’s shading normals along the brush strokes.
Gain
A modifier for the brush strokes map, acting as a multiplier, where a value of 1 does nothing, and value above 1 brighten the map, while values below 1 darken it.
Roll
Rotates the world normals based on a “paint-roller” effect. Effectively smearing the object’s shading normals along the brush strokes.
Rotation
Rotates the roll direction clockwise in degrees. At the default value of zero (0) the roll is pointing downwards in screen space so that the roll travels from the top to the bottom. A value of 45 will rotate the roll clockwise 45 degrees in screen space, and -45 will rotate counterclockwise 45 degrees.
Dir Light Rotations
Used to link the rotation values of a Sun light (i.e. a directional light) to drive the roller direction so that the brush shading direction follows the light direction. The light’s rotations in world space are converted into screen space, determining the starting direction angle, and the rotation slider becomes an additional tool to tweak that angle.
Input as radians
Light rotation values are passed by Blender as radians, rather than degrees. If you instead want to manually enter the rotations in degrees, you can simply uncheck this.
Normal Map
Input for tangent space normal maps.
Height
Strength of the normal mapping effect.
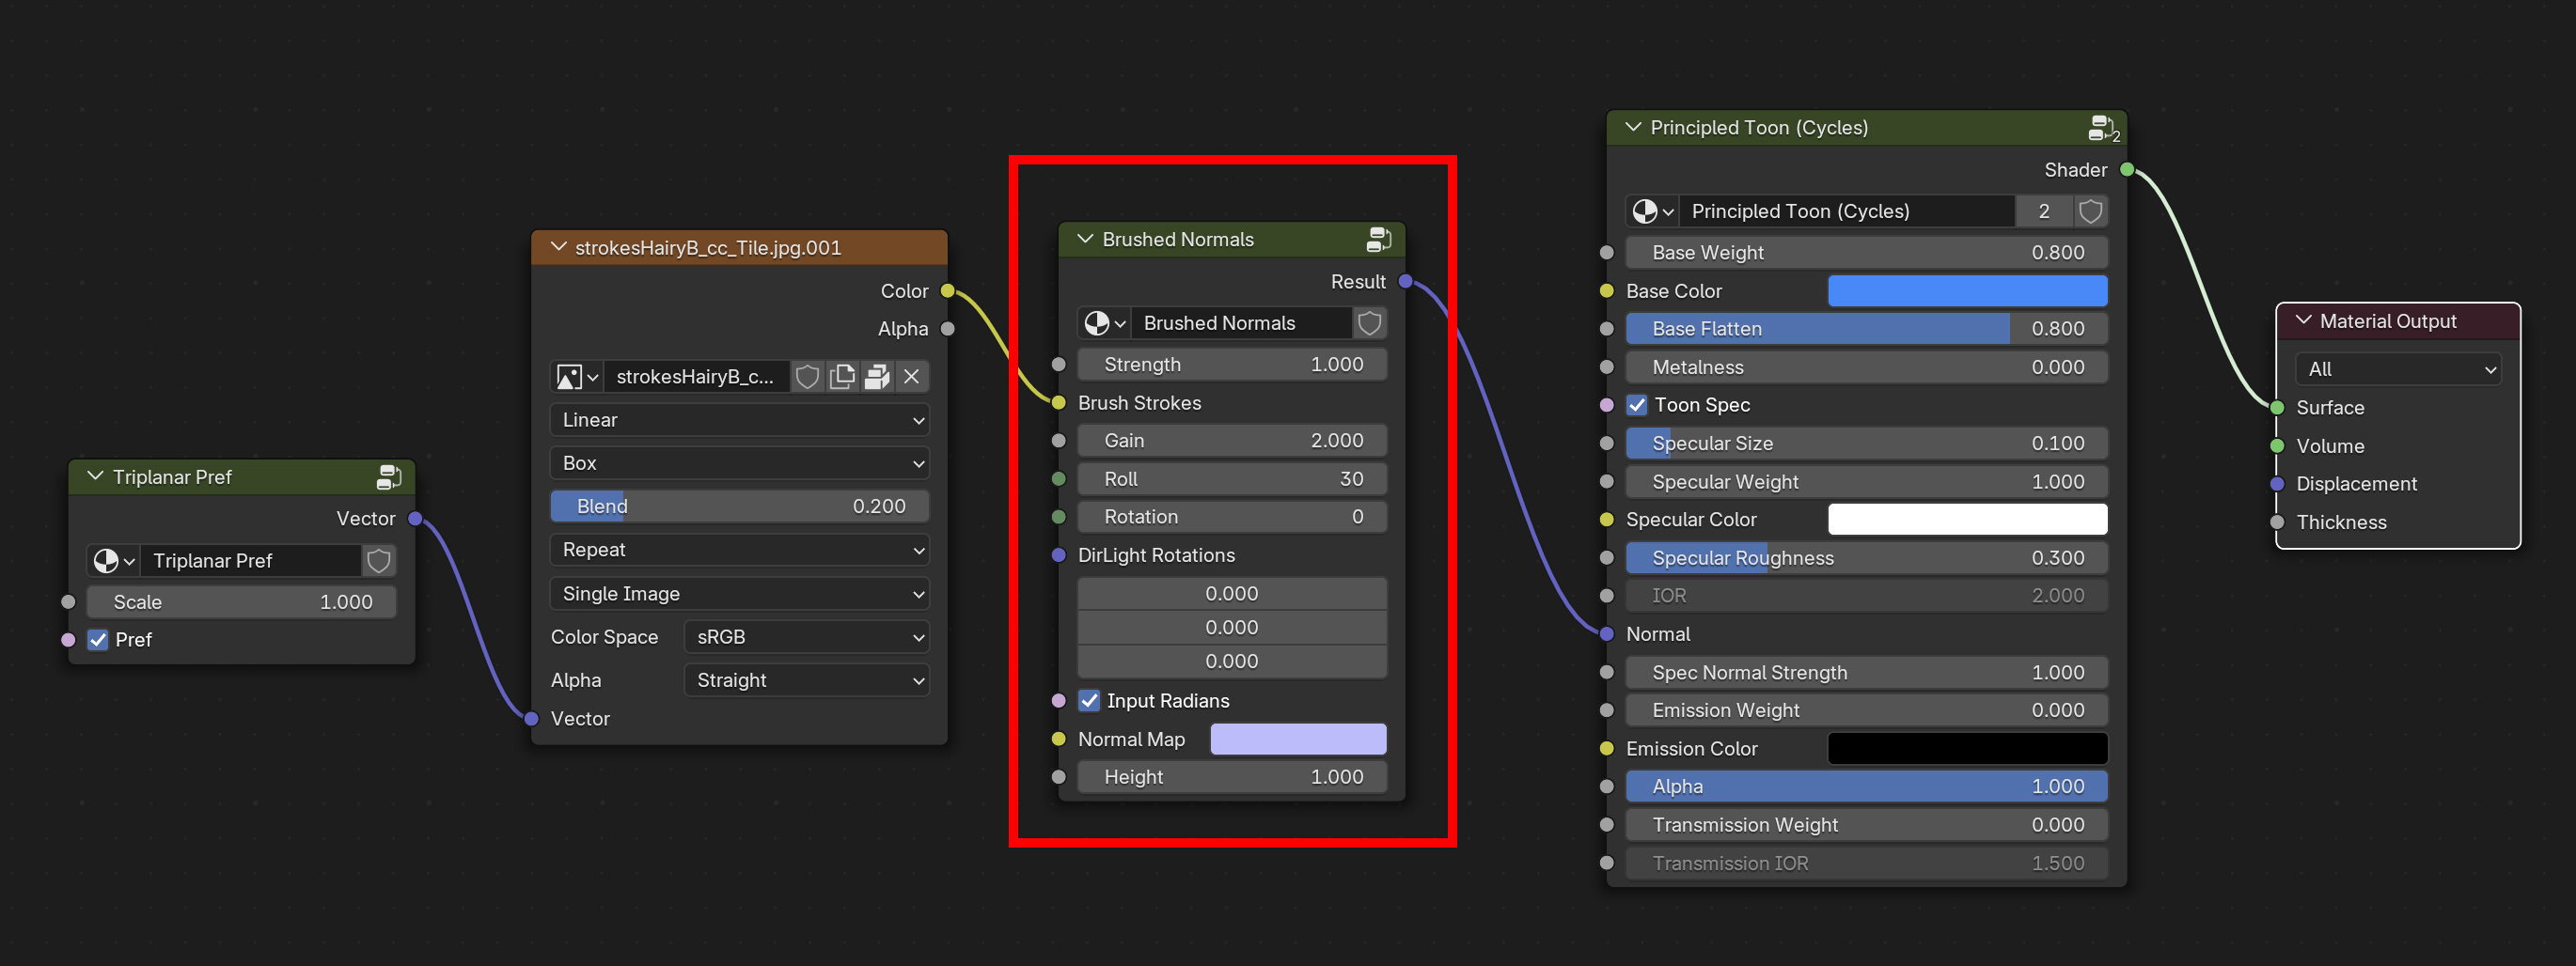
Example material node network